To manage your Azure subscription's resources in Commander, add the subscription as a cloud account. If an Azure account has multiple subscriptions, add each subscription as a separate cloud account.
Important: See Getting started with Azure for a list of tasks to complete before adding an Azure subscription as a cloud account.
Access: | Views > Inventory |
Available to: | Commander Roles of Superuser and Enterprise Admin |
To add an Azure subscription as a cloud account:
- Click the Infrastructure, Applications, or Storage tab.
- Select the root node of the Infrastructure, Applications, or Storage tree.
- Select Actions > Add Cloud Account.
- In the Add Cloud Account dialog, choose Microsoft Azure from Cloud AccountType.
- For Name, enter a name for the cloud account.
Note that Service Portal users may see this name if they have permission.
- For Subscription ID, enter the Azure subscription ID.
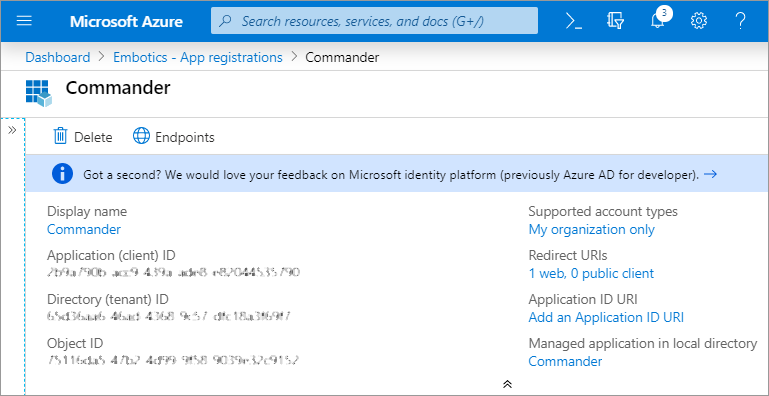
- For Tenant ID, enter your Azure directory (tenant) ID.
- For Application ID, enter your Azure application (client) ID.
- For API Key, enter your Azure API key (or authentication key).
- For Update Frequency, enter a value from 10 to 180 minutes.
By default, Commander retrieves updates from Azure every 60 minutes.
More frequent updates (meaning lower values for this setting) may impact performance, especially in large installations.
- If the Commander server is behind a firewall, enable Use Public Cloud Proxy.
- If you want to synchronize Azure tags and Commander custom attributes, for Sync Tags and Custom Attributes, click Configure.
- Enable Import Azure Tags as Commander Custom Attributes and/or Export Commander Custom Attributes as Azure Tags as required.
- To exclude certain Azure tags and custom attributes from synchronization, enter them as a comma-separated list in the Excluded Tags/Custom Attributes text field.
- Click OK.
If you haven't already integrated your proxy server with Commander, click Add Public Cloud Proxy Server and configure the proxy. For instructions, see Connect Public Clouds through Web Proxy Servers. This task requires the Superuser role.
In the Synchronize Azure Tags and Commander Custom Attributes dialog, do the following, then click OK:
Tags prefixed with "azure:", "microsoft:" and "windows:" are reserved for Azure use and are automatically excluded from sync. Commander form-type custom attributes are also automatically excluded.
For more information, see Synchronize Azure Tags and Commander Metadata.
