Import of SAP Information into Snow License Manager
Snow License Manager version 8.0 and Snow Optimizer for SAP Software version 1.5
2016-05-16
Introduction
This document describes the steps of the process to transfer information from Snow Optimizer for SAP Software to Snow License Manager. The process involves exporting data from Snow Optimizer for SAP Software before it can be imported to Snow License Manager. For ad-hoc use, the process can be completed manually. For more regular data updates, the process can be automated by scheduling exports and imports.
Generate an export file
An export file is created based on criteria you enter into the system in the form of rule sets. Export files can be created manually or periodically by setting up a scheduled batch job.
Note
The export file generated from the Snow Optimizer for SAP® Software must include textual descriptions in English (language is selected when initiating or scheduling the export). If not, license type numbers will be presented instead of license type names in Snow License Manager following import of the data.
To generate an export file:
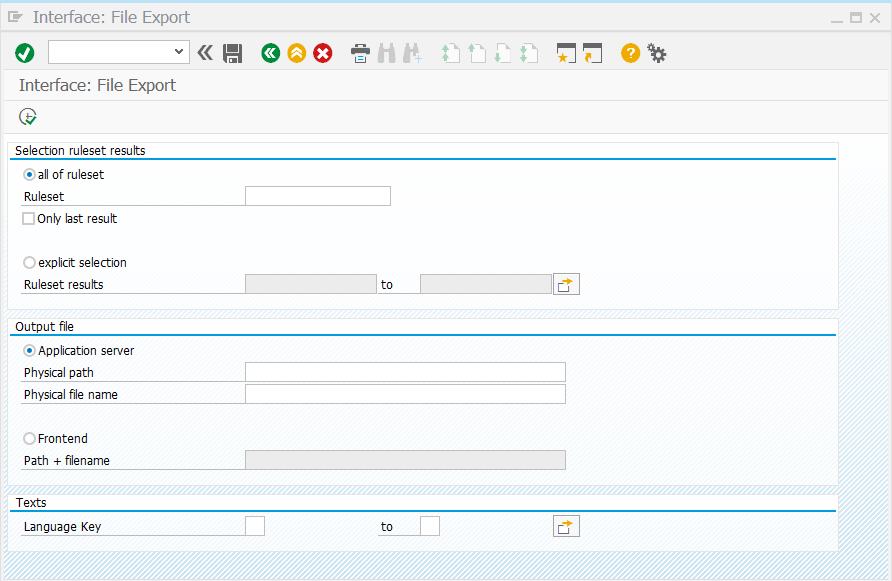
Open Administration|Interfaces|File Interface|File Export.
The input screen contains three sections:
Selection rule set results
Select the rule set, for which the result(s) should be exported. Checking the only last result box, will export the last result. Choose all of rule set to export the entire dataset or select explicit selection and input a range to export a subset of the data.
Output file
For manual exports you can choose to export the output file to a location on the SAP application server, or to the frontend machine you are running on. For batch mode, the output file can only be saved on the application server.
Texts
Select one or more languages for the descriptions of license types and special versions.
For details on the icons and their functionality see the User Guide: Snow Optimizer for SAP® Software.
To manually export the data, select Execute

To schedule the export as a batch job, save your selections as a report variant and schedule the report /DYNAM/INTF_FILE_EXP with this variant using transaction SM36.
Import file into Snow License Manager
The best way to import SAP information into Snow License Manager depends on how frequently you need to perform this task. For occasional imports, you can manually import SAP information directly from the web user interface of Snow License Manager. For regular updates, set up an automated import in the Web Configurator.
Note
The source input file generated by Snow Optimizer for SAP Software must be imported to Snow License Manager in its original state - editing this file will lead to failure of the import, or erroneous data in your system.
The SAP_ENABLED parameter has been set to true in Snow Management and Configuration Center.
For manual imports, the user logged in to Snow License Manager must have the required permissions to import SAP information manually.
Import files can only be imported once.
Manual imports
In Snow License Manager the SAP import wizard is accessible by selecting SAP import on the Home|Import data view.
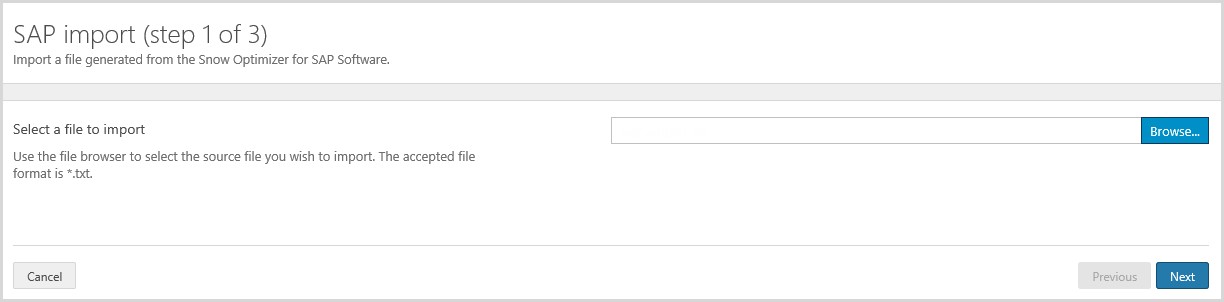
Step 1 - Select source file
Select Browse to search for the import source file and Next.
 |
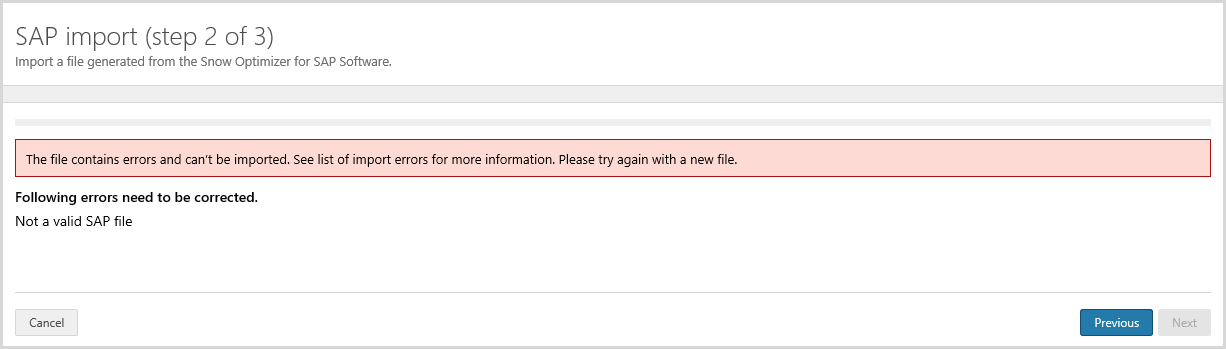
Step 2 - Preview
In this step, a validation of the import file and the data is performed.
If the file is successfully validated, select Next to start the import.
 |
If the file contains errors, a message displays and the file will not be imported.
 |
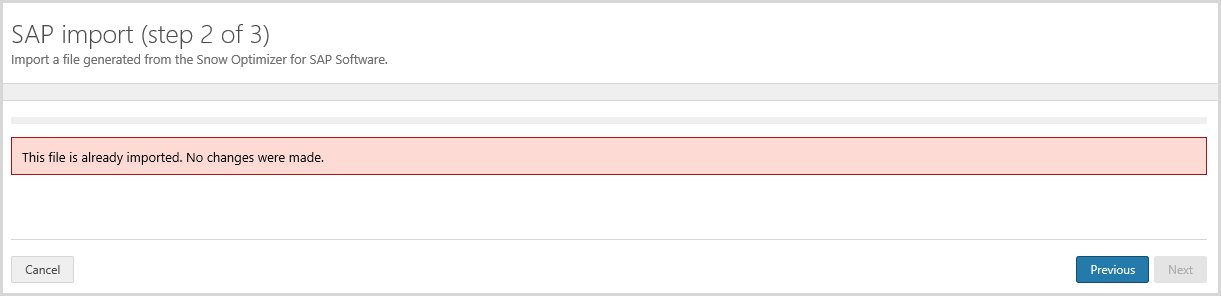
If the file has already been imported, a message displays and the file will not be imported.
 |
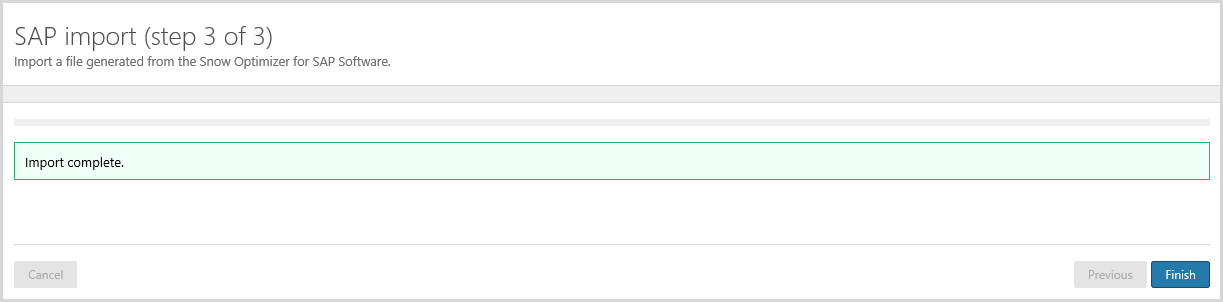
Step 3 - Import
Shows the progress of the import. When the file has been successfully imported, select Finish to exit the wizard.
 |
Automated imports
In the Web Configurator, import folders are configured on the Import Service tab.
For general settings such as import root folder and logging, refer to the User Guide: Snow Management and Configuration Center.
To configure a folder for import of SAP information:
On the Import Service tab, select Add.
The Import Folder dialog box appears.
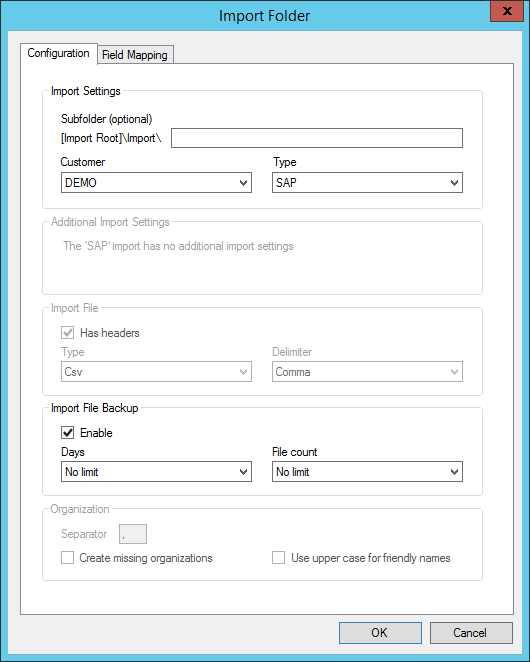
On the Configuration tab:
Optionally, enter the name of a Subfolder if you want to import files residing in a folder underneath the root location.
For Service Provider Edition (SPE) platforms, select Customer in list.
In the Type list, select SAP.
Optionally, select the Enable checkbox to enable Import File Backup functionality, and specify:
Number of Days to keep backup files.
Number of backup files to keep in the File count list.
On the Field Mapping tab:
No settings are required here.
Click OK to save the changes and close the Import Folder dialog box.
The Import service will automatically start looking for and importing data from files dropped in the specified folder.
Any errors will be logged to the ErrorRows folder, a subfolder of the Import Root folder.