Manage document shares
This chapter describes how to to make documents available to the user. To be able manage document shares in Snow Device Manager, the following must be fulfilled:
Document Share must be enabled in the domain, see Administrate the domain.
The user must have a device with at least version 5.0 of the Snow app for Android or iOS devices.
Create document share
On the Start tab, click New document share.
The Document share workbench appears.
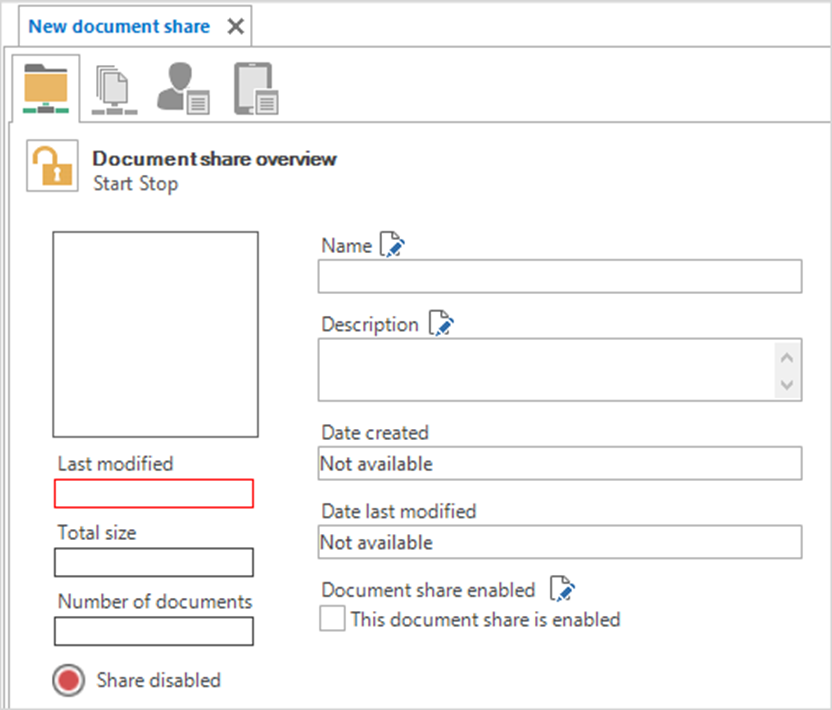
On the Overview page, type a name for the document share in the Name box.
In the Description box, type a description.
Click the padlock icon (
 ), and then click Yes to save the changes.
The rest of the workbench is made available.
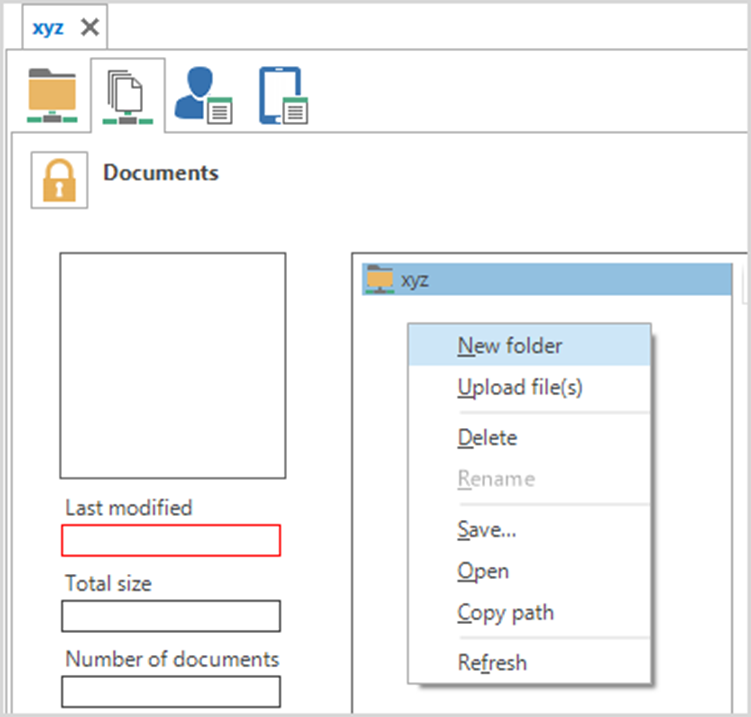
To organize uploaded files in folders, on the Documents page, right-click and select New folder and then name the folder.
On the Document page, right-click and select Upload files and then browse to open the files.
On the Members page, click the padlock icon (
 ) to edit the information.
Perform one of the following actions:
Select the Available on every enrolled supported device check box to give every device that has a document share compatible with the Snow Device Manager client access to the share.
Select user groups to give the selected users groups access to the share.

Click the padlock icon (
), and then click Yes to save the changes.On the Documents page, click Start to activate the new share.