Manage devices
This chapter describes how to register and organize devices, and also change device settings in Snow Device Manager.
Register device
When the manager registers a device, a text message and/or an email message is sent to the device with instructions for the user. The user then registers the device according to the procedures described in the Snow App User guide. When the device is registered the status of the device is “Enrolled”.
On the Start tab, click New device.
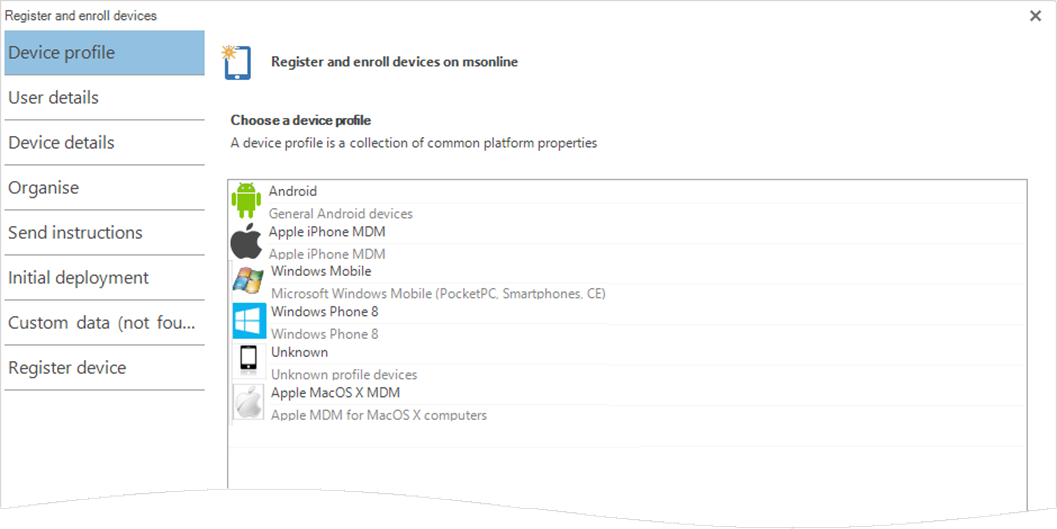
The Register and enroll devices dialog box appears.
Double-click a device profile (or select a device profile, and then click Next).
In the Select a user box, select the user the device should be connected to.
The selected user’s details appears in the dialog box.
Click Next.
In the SMS capable phone number list, do one of the following:
If the device is a phone, select or type a phone number.
If the device is a tablet and cannot receive text messages, select None.
For enrollment using a QR code, select None.
Click Next.
In Device group, select a folder to store the device in, and then click Next.
In the SMS capable phone number list, do one of the following:
To send instructions in a text message, select or type a phone number.
For enrollment using a QR code, select None.
In the And / or email list, do one of the following:
To send instructions in an email message, select or type an email address.
For enrollment using a QR code, select None.
Click Next.
To add deployments, In the Choose deployments list, select the deployment, and then click Add.
The selected deployments are added to the Deployment box.
Click Next.
The device is registered and the deployments are sent to the device when the device is online.
Create device group
In the Domain browser, select a device group.
On the Start tab, click New group
The Device groups dialog box appears.

In New device group name, type a name for the group, for example, “Android”, “iOS” or “Windows Phone”.
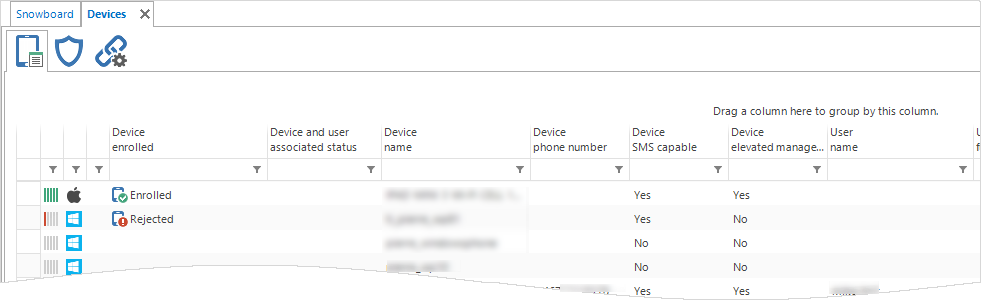
View all devices in the domain
On the View tab, click Devices.
The Devices workbench appears.
View devices in a user group
In the Domain browser, double-click a device group.
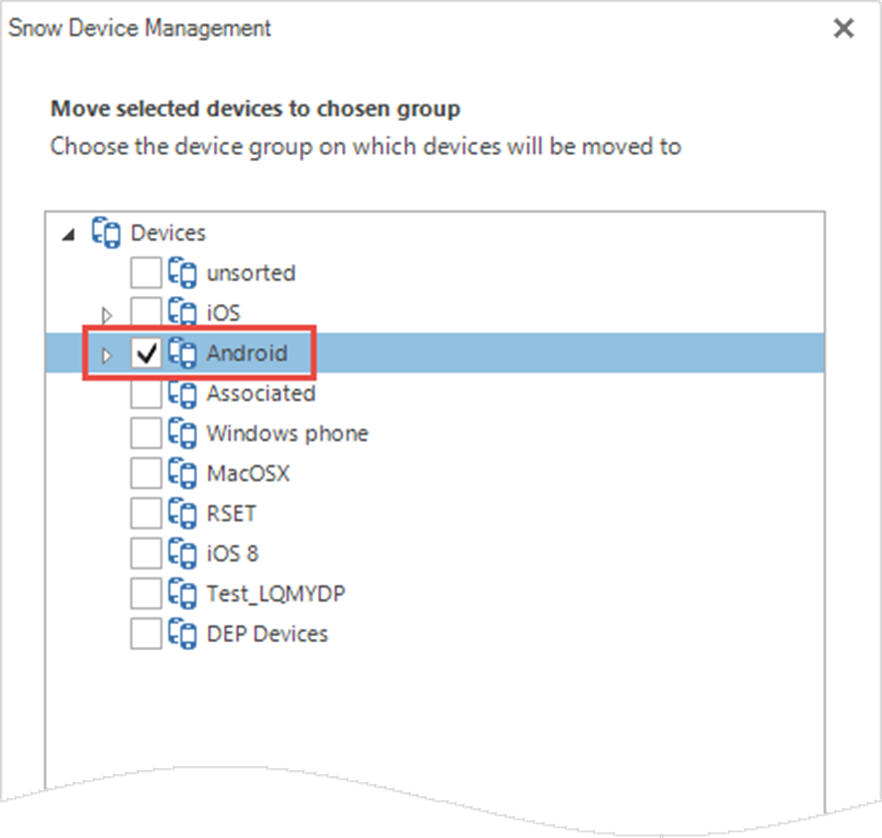
Move devices to device group
Search for the devices that you want to move.
Select the devices.
On the Edit tab, click Move.
The Move selected devices to chosen group dialog box appears.
Click the device group that you want to move the devices to, and then click OK.
Enroll device
A device can be enrolled if the device previously has been registered.
Find and select the device that you want to enroll.
On the Edit tab, click Enroll device.
The Enroll device dialog box appears.
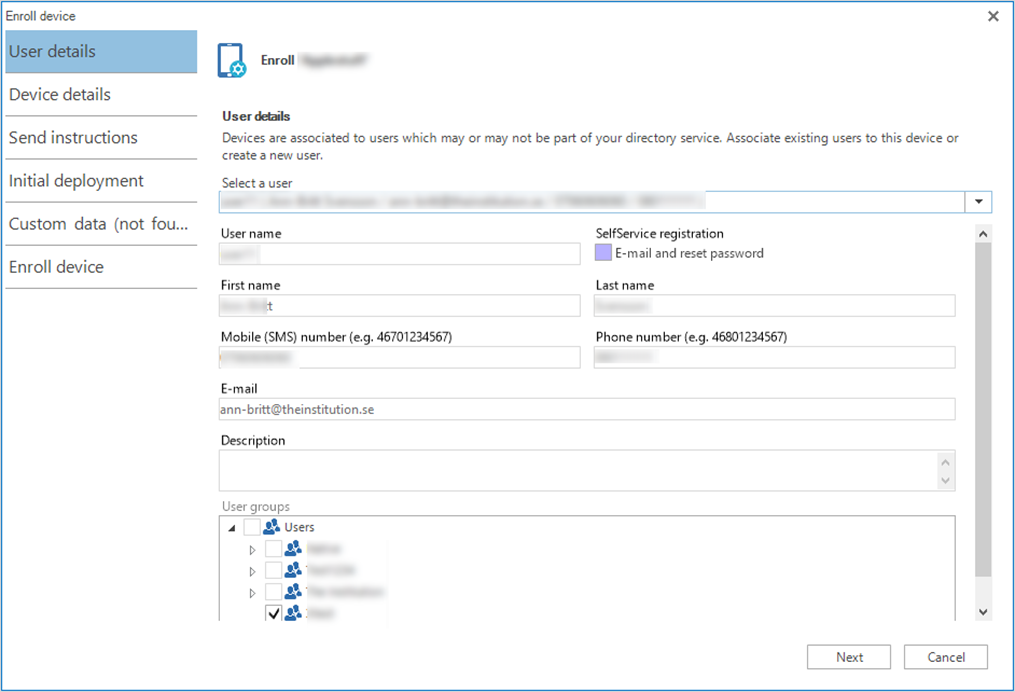
In Select a user, select a user and then click Next.
To auto generate the device name, click the Generate the device name based on the owner's user name.
The device name is automatically generated as “username_AUTOREG”, where AUTOREG will automatically fetch the model name from the device.
To manually change the device name, type a new name in the Device name box.
In SMS capable phone number, select or type a phone number.
Click Next.
To send instructions in a text or email message:
Select or type a phone number in the SMS capable phone number box.
Select or type an email address in the And / or email.
Type instructions in the Message box.
Click Next.
To change which deployments the device is added to:
To add the device to a deployment, select the deployment, and then click Add.
The selected deployments appear in the Deployments box.
To delete the device from a deployment, click the minus sign (
 ) for the deployment.
To change order the order of the deployments, click
 or
or  .
.
Click Next.
The device is registered and added to the deployment.
Enroll device with QR code
A device can be enrolled if the device previously has been registered.
Find and select the device that you want to enroll with QR code.
On the Edit tab, click Enroll QR code.
The QR Enrollment for Android dialog box appears.
Edit the settings according to the following table:
Setting
Description
Leave system apps enabled
If this checkbox is cleared, the device will be enrolled empty with no apps.
Skip encryption of device
If this checkbox is cleared, the device will be encrypted.
Enable user to backup device
If this checkbox is cleared, the user cannot backup or restore the device.
Click Close.
Perform device actions
Search for the devices that you want to perform a device action on.
Select the devices.
On the Edit tab, click Device actions and then click a device action according to the following table.
Click | To |
|---|---|
Install Apple iOS Extension application | Install application on an iOS device. |
Start MDM Client | Start the MDM client on the device. |
Stop device’s MDM client | Stop the MDM client on the device. |
Disconnect | Disconnect the device from SDM Gateway. The device tries to establish a new connection. |
Wipe | Restore the device to factory settings. |