Configuration
Learn how to configure the Snow Integration Manager by opening the Snow Integration Manager Properties which is located in the start menu.
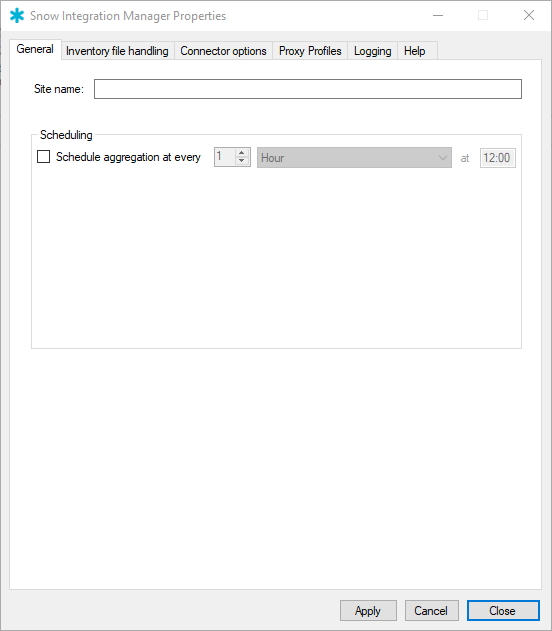
General
Select global settings for Site name and aggregation scheduling. The global Site name setting can be overridden using the Site name setting in the connector-specific options.
Note
The global setting for aggregation scheduling affects all connectors. If connectors are to be scheduled separately, do not enable this setting.
In the Site name box, enter the site name provided by the Service Provider (SPE platforms only), or the default site name used in the Snow Inventory installation (Enterprise).
In the Scheduling section, schedule an aggregation interval (or disable it).
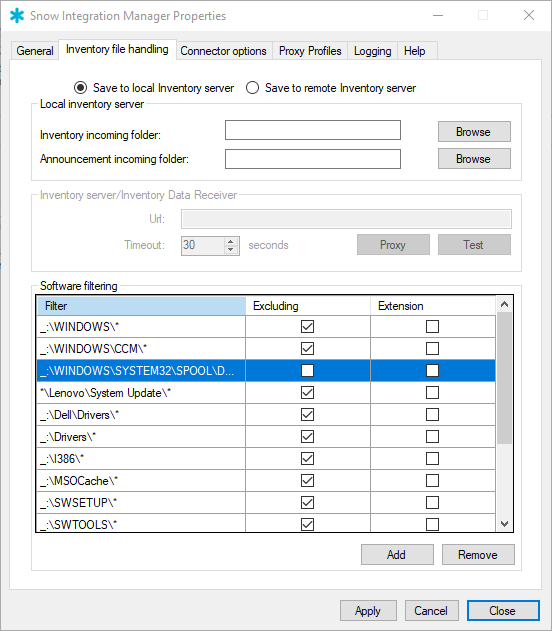
Inventory File handling
Select the suitable method from the options provided for handling inventory data.
Local Inventory server
When Snow Inventory Server, or Snow Extender, is running on the same server as the Snow Integration Manager, do the following:
Select the Save to local inventory server checkbox.
In the Inventory incoming folder box, specify the folder where the integration connectors will save the inventory files.
The default folder is C:\Program Files\Snow Software\Snow Inventory\Server\Incoming\data\processing.
In the Announcement incoming folder box, specify the folder where the Discovery data from file, the AWS Discovery, and the Azure Discovery connectors will save discovery/announcement files.
The default folder is C:\Program Files\Snow Software\Snow Inventory\Server\Incoming\announcements\processing.
Remote Inventory server
When sending the inventory data to a remote inventory server—such as a Snow Inventory Master Server, a Snow Inventory Service Gateway, a Snow Inventory Data Receiver, or Snow Extender—do the following:
Select the Save to remote inventory server checkbox.
Enter the complete URL in the Url box.
Example 1.http://myserver.com
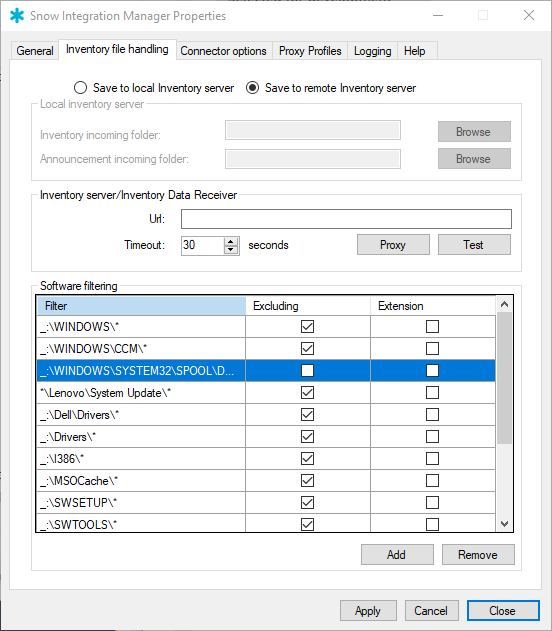
To activate and use proxy functionality, select Proxy.
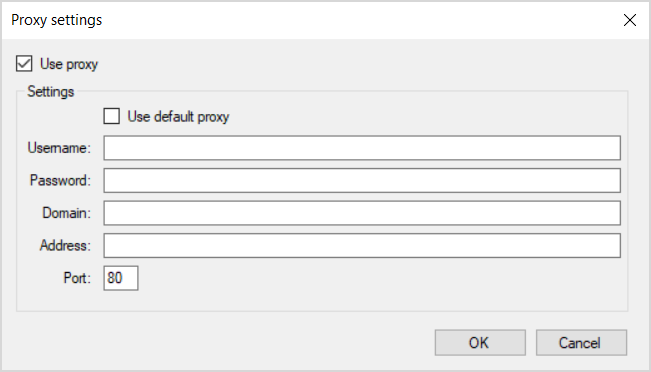
In the Proxy settings dialog, select the Use proxy checkbox.
In the Settings section, do one of the following:
Use the default proxy configured in Internet Explorer by selecting the Use default proxy checkbox.
Enter the proxy settings in the boxes manually.
Software filtering
The Software filtering section lists folder paths and file types, which by default are excluded from/included in the inventory.
Note
Software filtering is only applicable for the Microsoft SCCM 2012 connector.
Using the filter in the image below, all content of the folder _:\WINDOWS\* will be excluded except for the folder _:\WINDOWS\SYSTEM32\SPOOL\DRIVERS\*.
By default, only .exe and .dll file types will be included in the inventory, but more file types can be added.
To remove a filter, select filter in the list and then select Remove.
To create a new filter, select Add.
The Add software filter dialog box appears.
In the Add software filter, to exclude a folder, enter a path in the Filter box, and then select the Excluding checkbox.
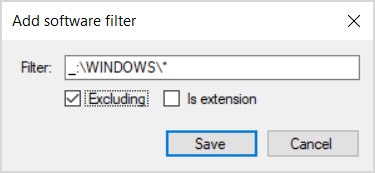
Select Save.
To include a folder in an already excluded path, enter a path in the Filter box, and then leave the Excluding checkbox cleared.
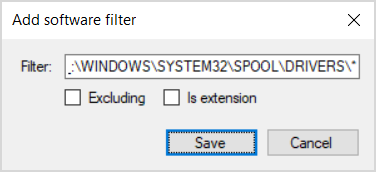
Select Save.
To include a new file extension, enter the extension in the Filter box, and then select the Is extension checkbox.
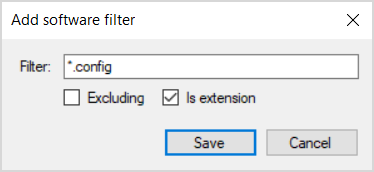
Select Save.
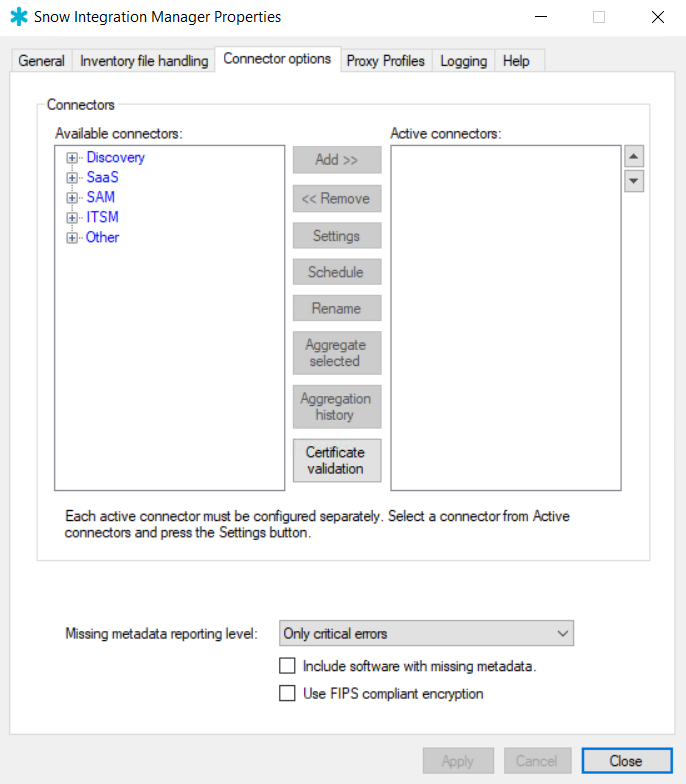
Connector options
Select which connectors to configure. For details of the specific configuration options for each connector, see the sections that follow.
To add connectors, select a connector in the Available connectors list and then select Add >>.
Enable the Skip certificate validation checkbox for the aggregation to work when connecting with a server without a valid certificate.
Note
You can also enable/disable the certificate validation after creation using the certificate validation option.
To remove connectors from the Active connectors list, select a connector and then select << Remove.
To configure connector-specific options, select Settings.
For each specific connector, see the sections that follow.
To configure a schedule for a selected Active connector, select Schedule.
To rename an Active connector, select connector and then select Rename.
To start an immediate aggregation for a selected connector, select Aggregate selected. This option is mostly used for test purposes.
The Aggregation history shows a summary of the last 10 aggregations for the selected connector.
The Certificate validation shows settings to enable and disable the certificate per connector instance.
In the Missing metadata reporting level list, select how to handle reporting of missing metadata.
To include software that lacks description, select the Include software with missing metadata checkbox. The filename will be used as placeholder for the description.
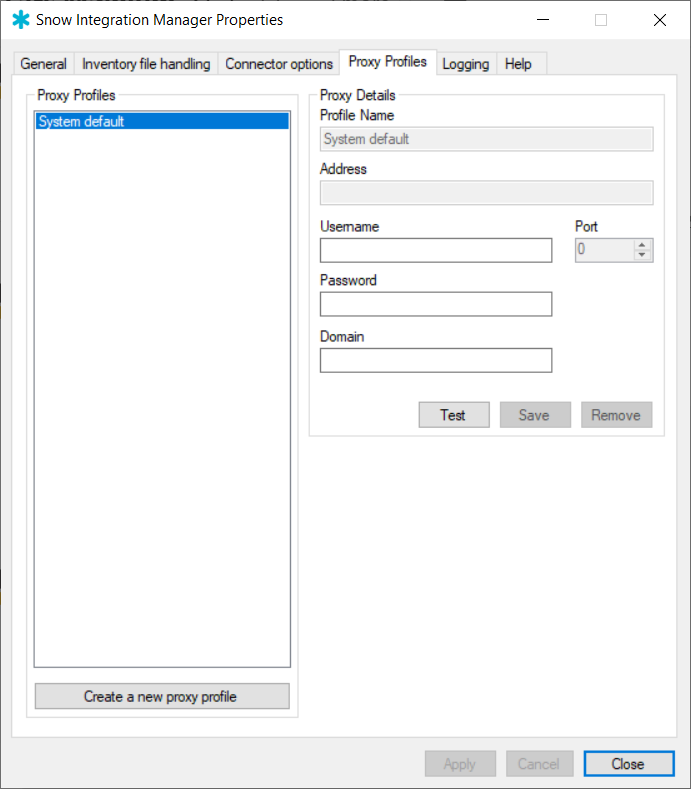
Proxy profiles
Some SIM connectors use proxies. You can configure an existing proxy or create a new one that will be available to proxy-enabled SIM connectors.
On the Proxy Profiles tab, you can create a new proxy, change the configuration of an existing proxy, and add username and password to the System default.
To create a new proxy or change an existing one:
Start with one of the following:
To create a new proxy, select Create a new proxy profile.
An empty profile is shown.
To change an existing proxy, select the proxy in the list.
The editable fields for the selected proxy is shown.
In the Profile Name, enter a descriptive name for the proxy. This will be used to identify the proxy profile in the connector settings.
In the Address, enter a valid http:// URL without the port number.
Note
We do not support HTTPS calls to proxy servers in the SIM configuration.
In the Port, enter the port number on which the proxy server accepts connections.
Optional: Enter a Username that gives access to the proxy server and a Password to be used with the username.
Optional: Enter the Domain if needed.
Test the proxy:
Select Test.
A dialog box appears.
Enter a valid URL and then select Test.
The dialog box displays information about the status of the tested proxy.
Select Save.
The proxy is now available to select in a proxy-enabled connector.
The System default is the default proxy set up in your windows environment. If no proxy is set as the default proxy on your system, then no proxy will be used by the connector. The System default entry has limited options available, as it relies on the proxy being set as the default proxy in your environment. You can add a username and password to the System default.
To add a username and password to the System default:
Select System default.
Enter a Username that gives access to the proxy server and a Password to be used with the username.
Select Save.
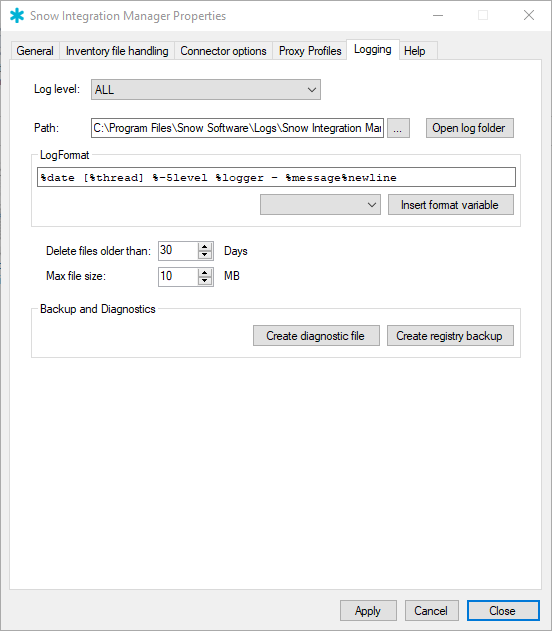
Logging
On the Logging tab, specifications can be made on what information to append to the log files, how the files are formatted, where they are located, and allowed number and size of the files; the default settings are recommended for use.
Selecting Create diagnostic file will create a text file containing information that is useful when contacting support. Selecting Create registry backup will create a full copy of the current configuration settings for all connectors.
Help
Select the F1 key to reach the Help tab from anywhere in the user interface.
The Help tab displays the version number and contains links to useful resources and documentation for Snow Integration Manager.
You can also reach the connector user guides using the  in the respective connector configuration windows.